
Fast-Fire
Context
Since moving to Oxford in 2022 I have been lucky enough to get to know Robin Wilson and his work running the Oxford University Kilns Project. In fact this project, and the extensive community of potters/makers it has attracted, have lead to some of the most fruitful and engaging friendships I have yet made.
In recent years Robin and Claude Aussage have been developing the design of and, arguably more importantly, the firing methods for, three ‘fast-fire’ kilns on the site in Wytham Woods. - Sometimes referred to as Philosopher’s Kilns, and loosely based on the designs discussed in Steve Mills’ Backyard Kilns, they are essentially small scale double cross-draught kilns designed to be fired in less than 12hrs (potentially single-handed!).


Having had to abandon my own micro-kiln build in 2021, I see huge potential and promise in these small kiln designs, and share Robin and Claude’s belief that it should be possible to achieve at least some of the effects traditionally only seen from anagama-style firings which can easily take in excess of 60 hours.
I should add here that wood-firing is, in my opinion, an inherently communal and social activity. There is an enormous amount of learning, reflection, and shared knowledge exchanged in the firing teams which are required for firing the larger kilns. - In no way do I think of fast-firing as a replacement for these longer firings.
This said, the idea of firing a wood-kiln at the weekend, maybe even on a two week cycle of making and firing, opens the door to greater iteration and experimentation: Learning the subtleties and quirks of a smaller kiln might (best case) take as little as 18 months!
The Wytham fast-fire kilns have been recently rebuilt as part of a bespoke kiln-building course; this time tweaking, and more keenly observing, the ratios of firebox, ware-chamber, air-intake, exit-flue, and chimney-stack cross section. - Relationships between these volumes are fundamental to a well balanced kiln, and this iteration of the design (along with revisions to the kiln management) has already proved more efficient.
Planning & Packing
I teach a GCSE Ceramics course to around 40 secondary school students and recently introduced a short Kurinuki project. We used a groggy crank mix with a reasonably low iron content and they produced some really beautiful work, which I had originally planned to Raku fire with them in June. On seeing their success however, I knew that I would have to raise my own game by organising a wood-firing…

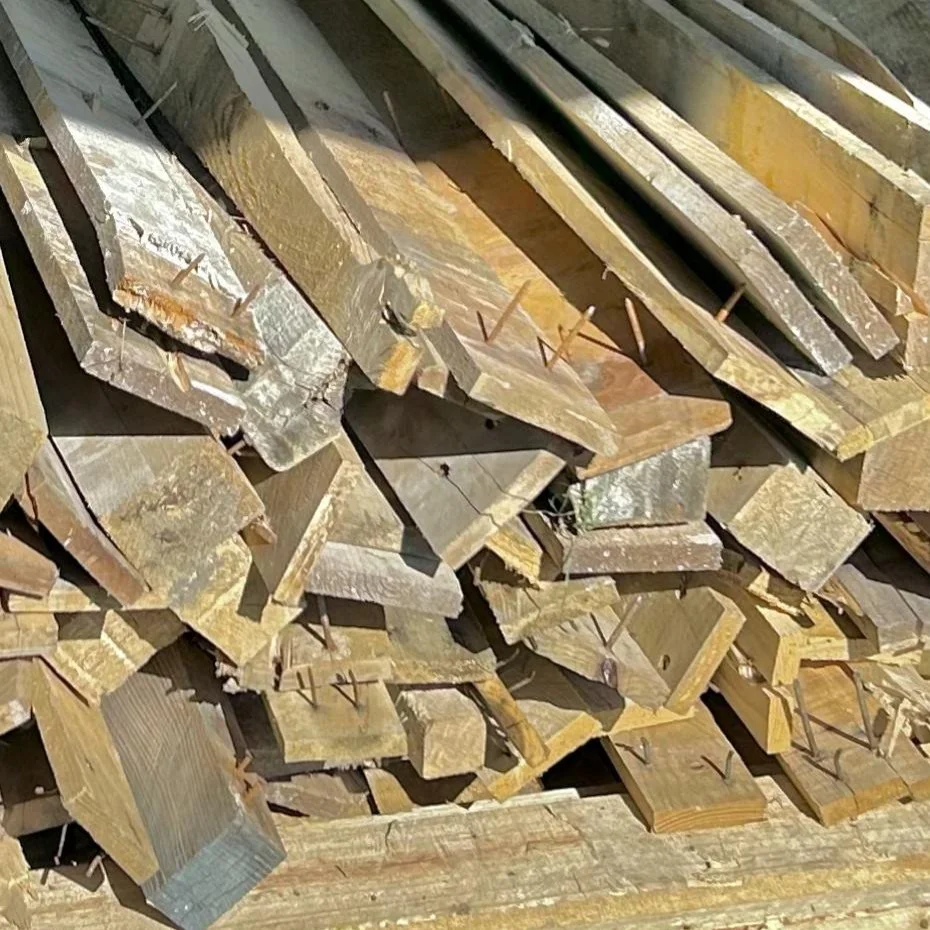
The Oxford fast-fires are fired on pallet wood, which was destined to be driven hundreds of miles and then burnt (!). - The wood itself has a low calorific value, but transforming waste wood into a social learning experience whose byproduct is beautiful ceramics seems almost too wonderful. I broke down 20 pallets, and had two ‘bales’ of hardwood sticks (seen on the left here). From previous experience this would provide a safe buffer of fuel, should we accidentally stall the kiln:


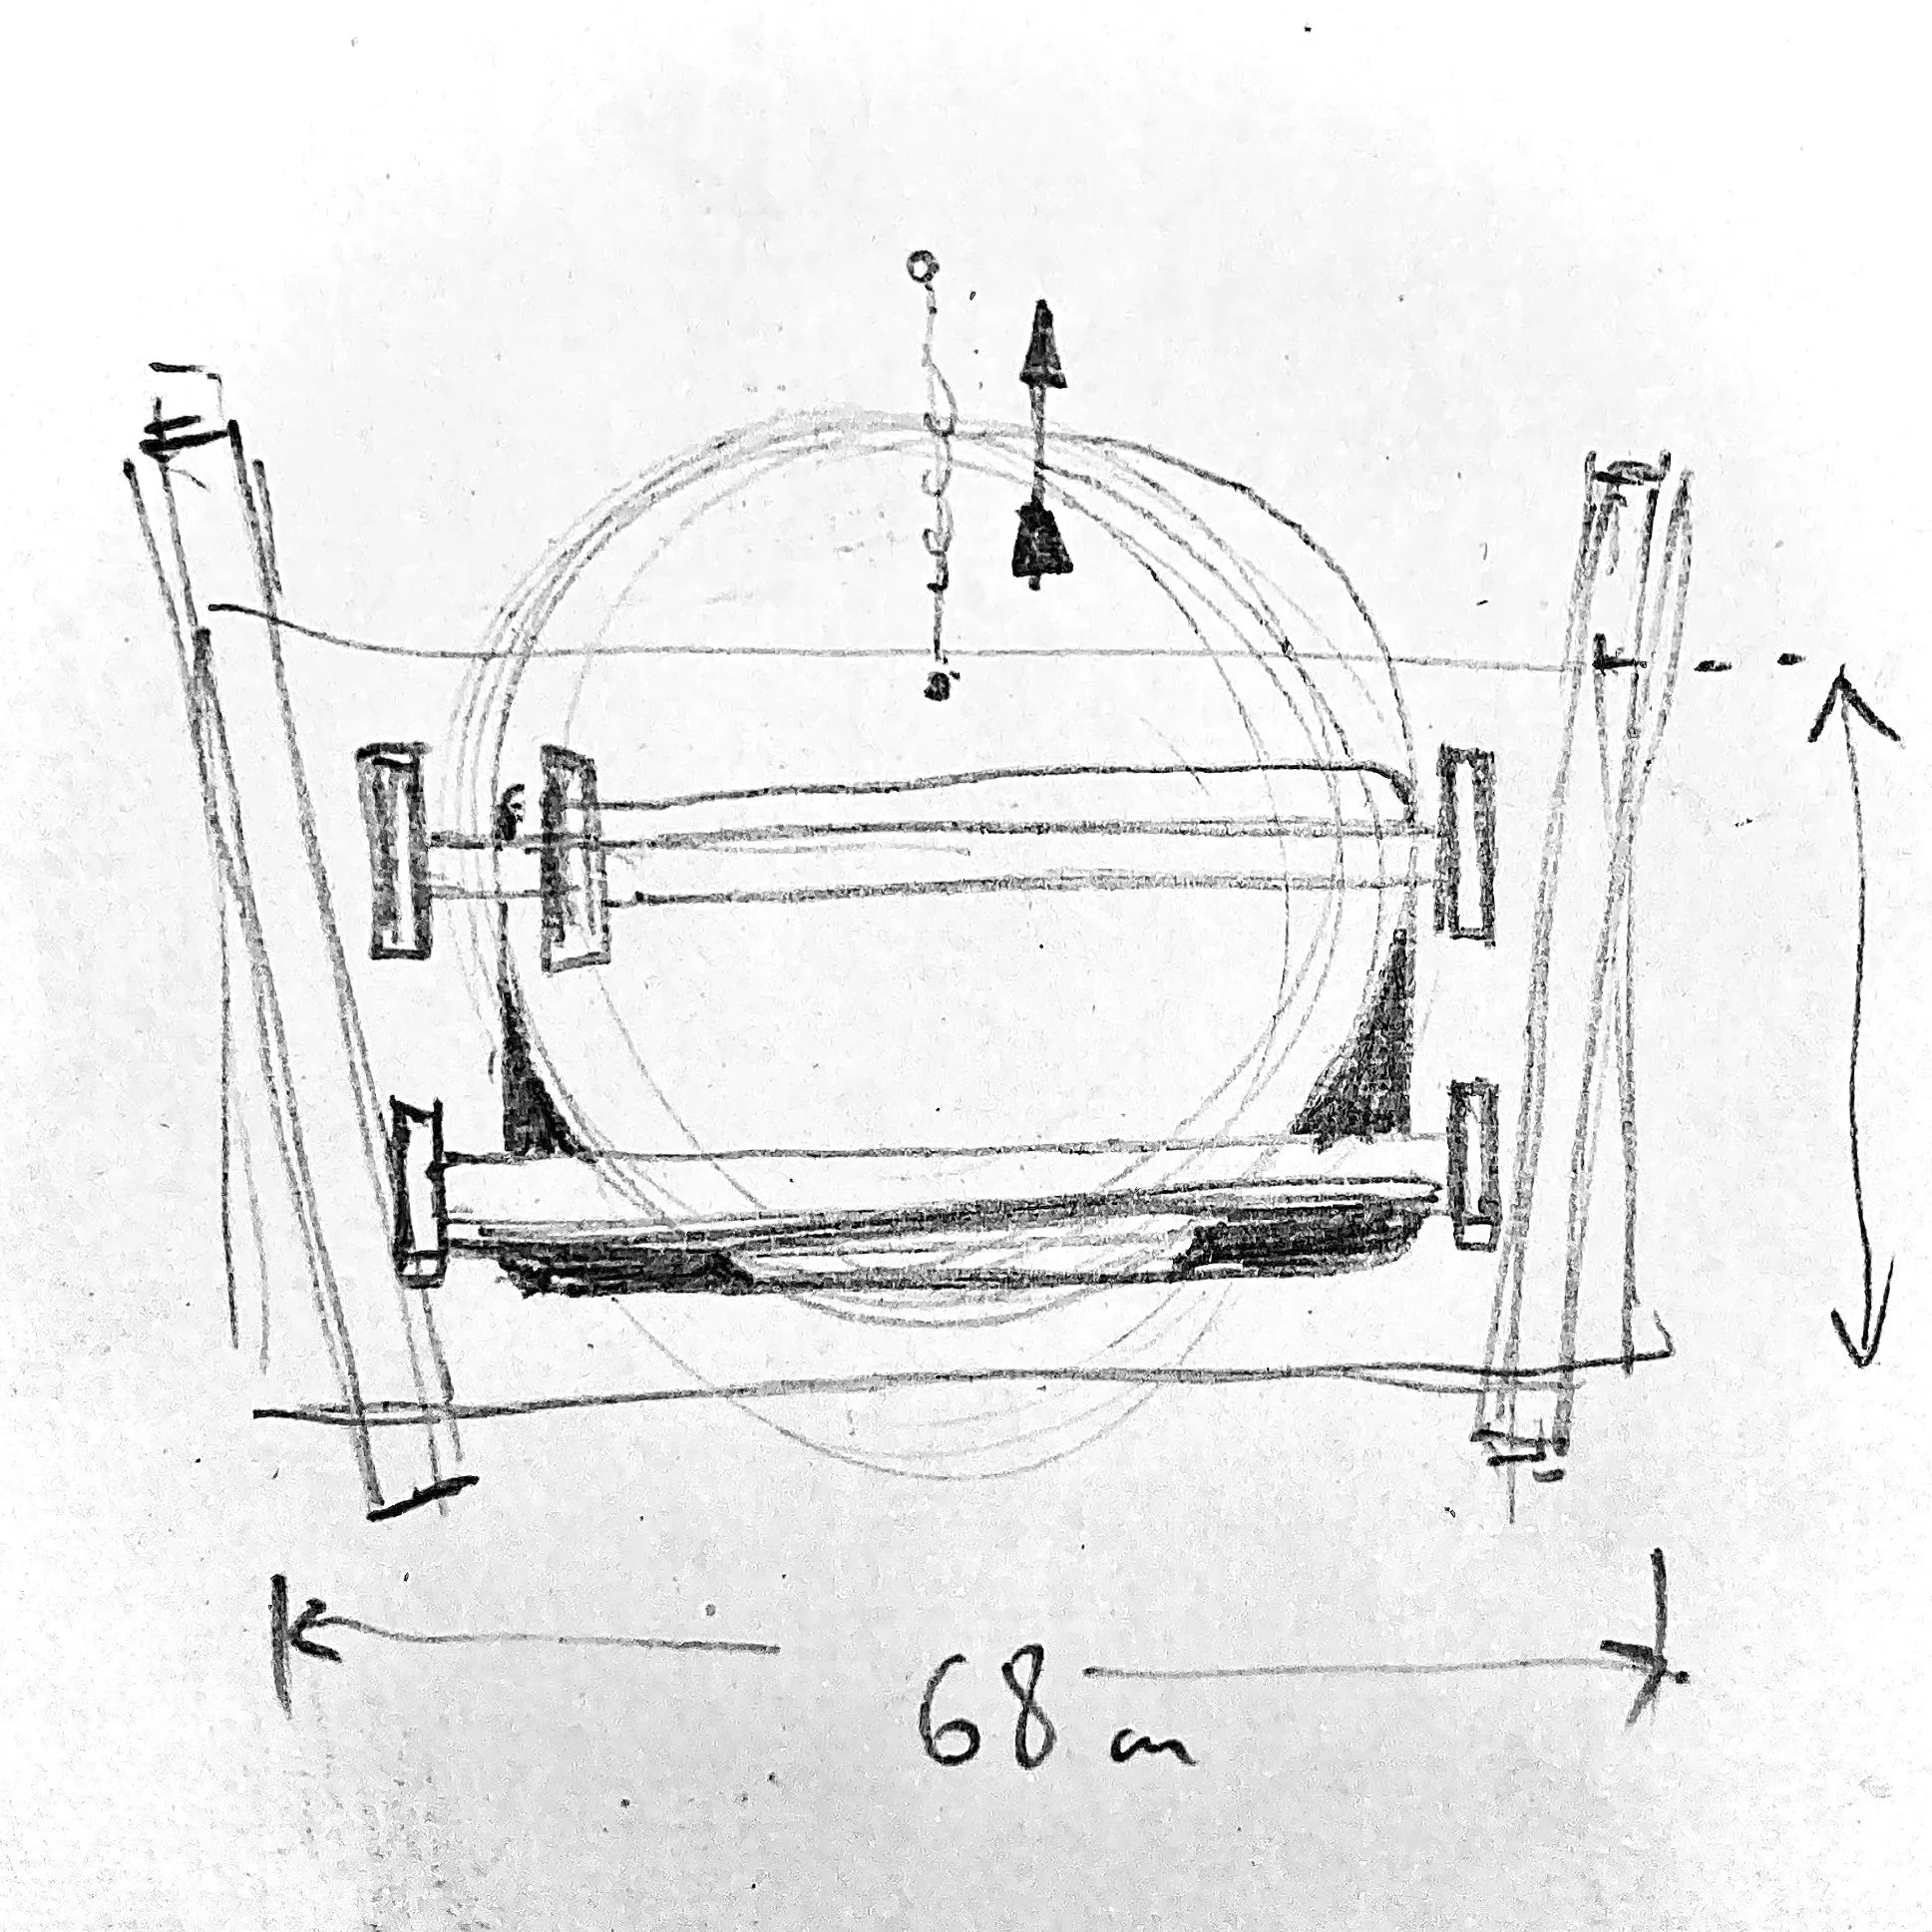
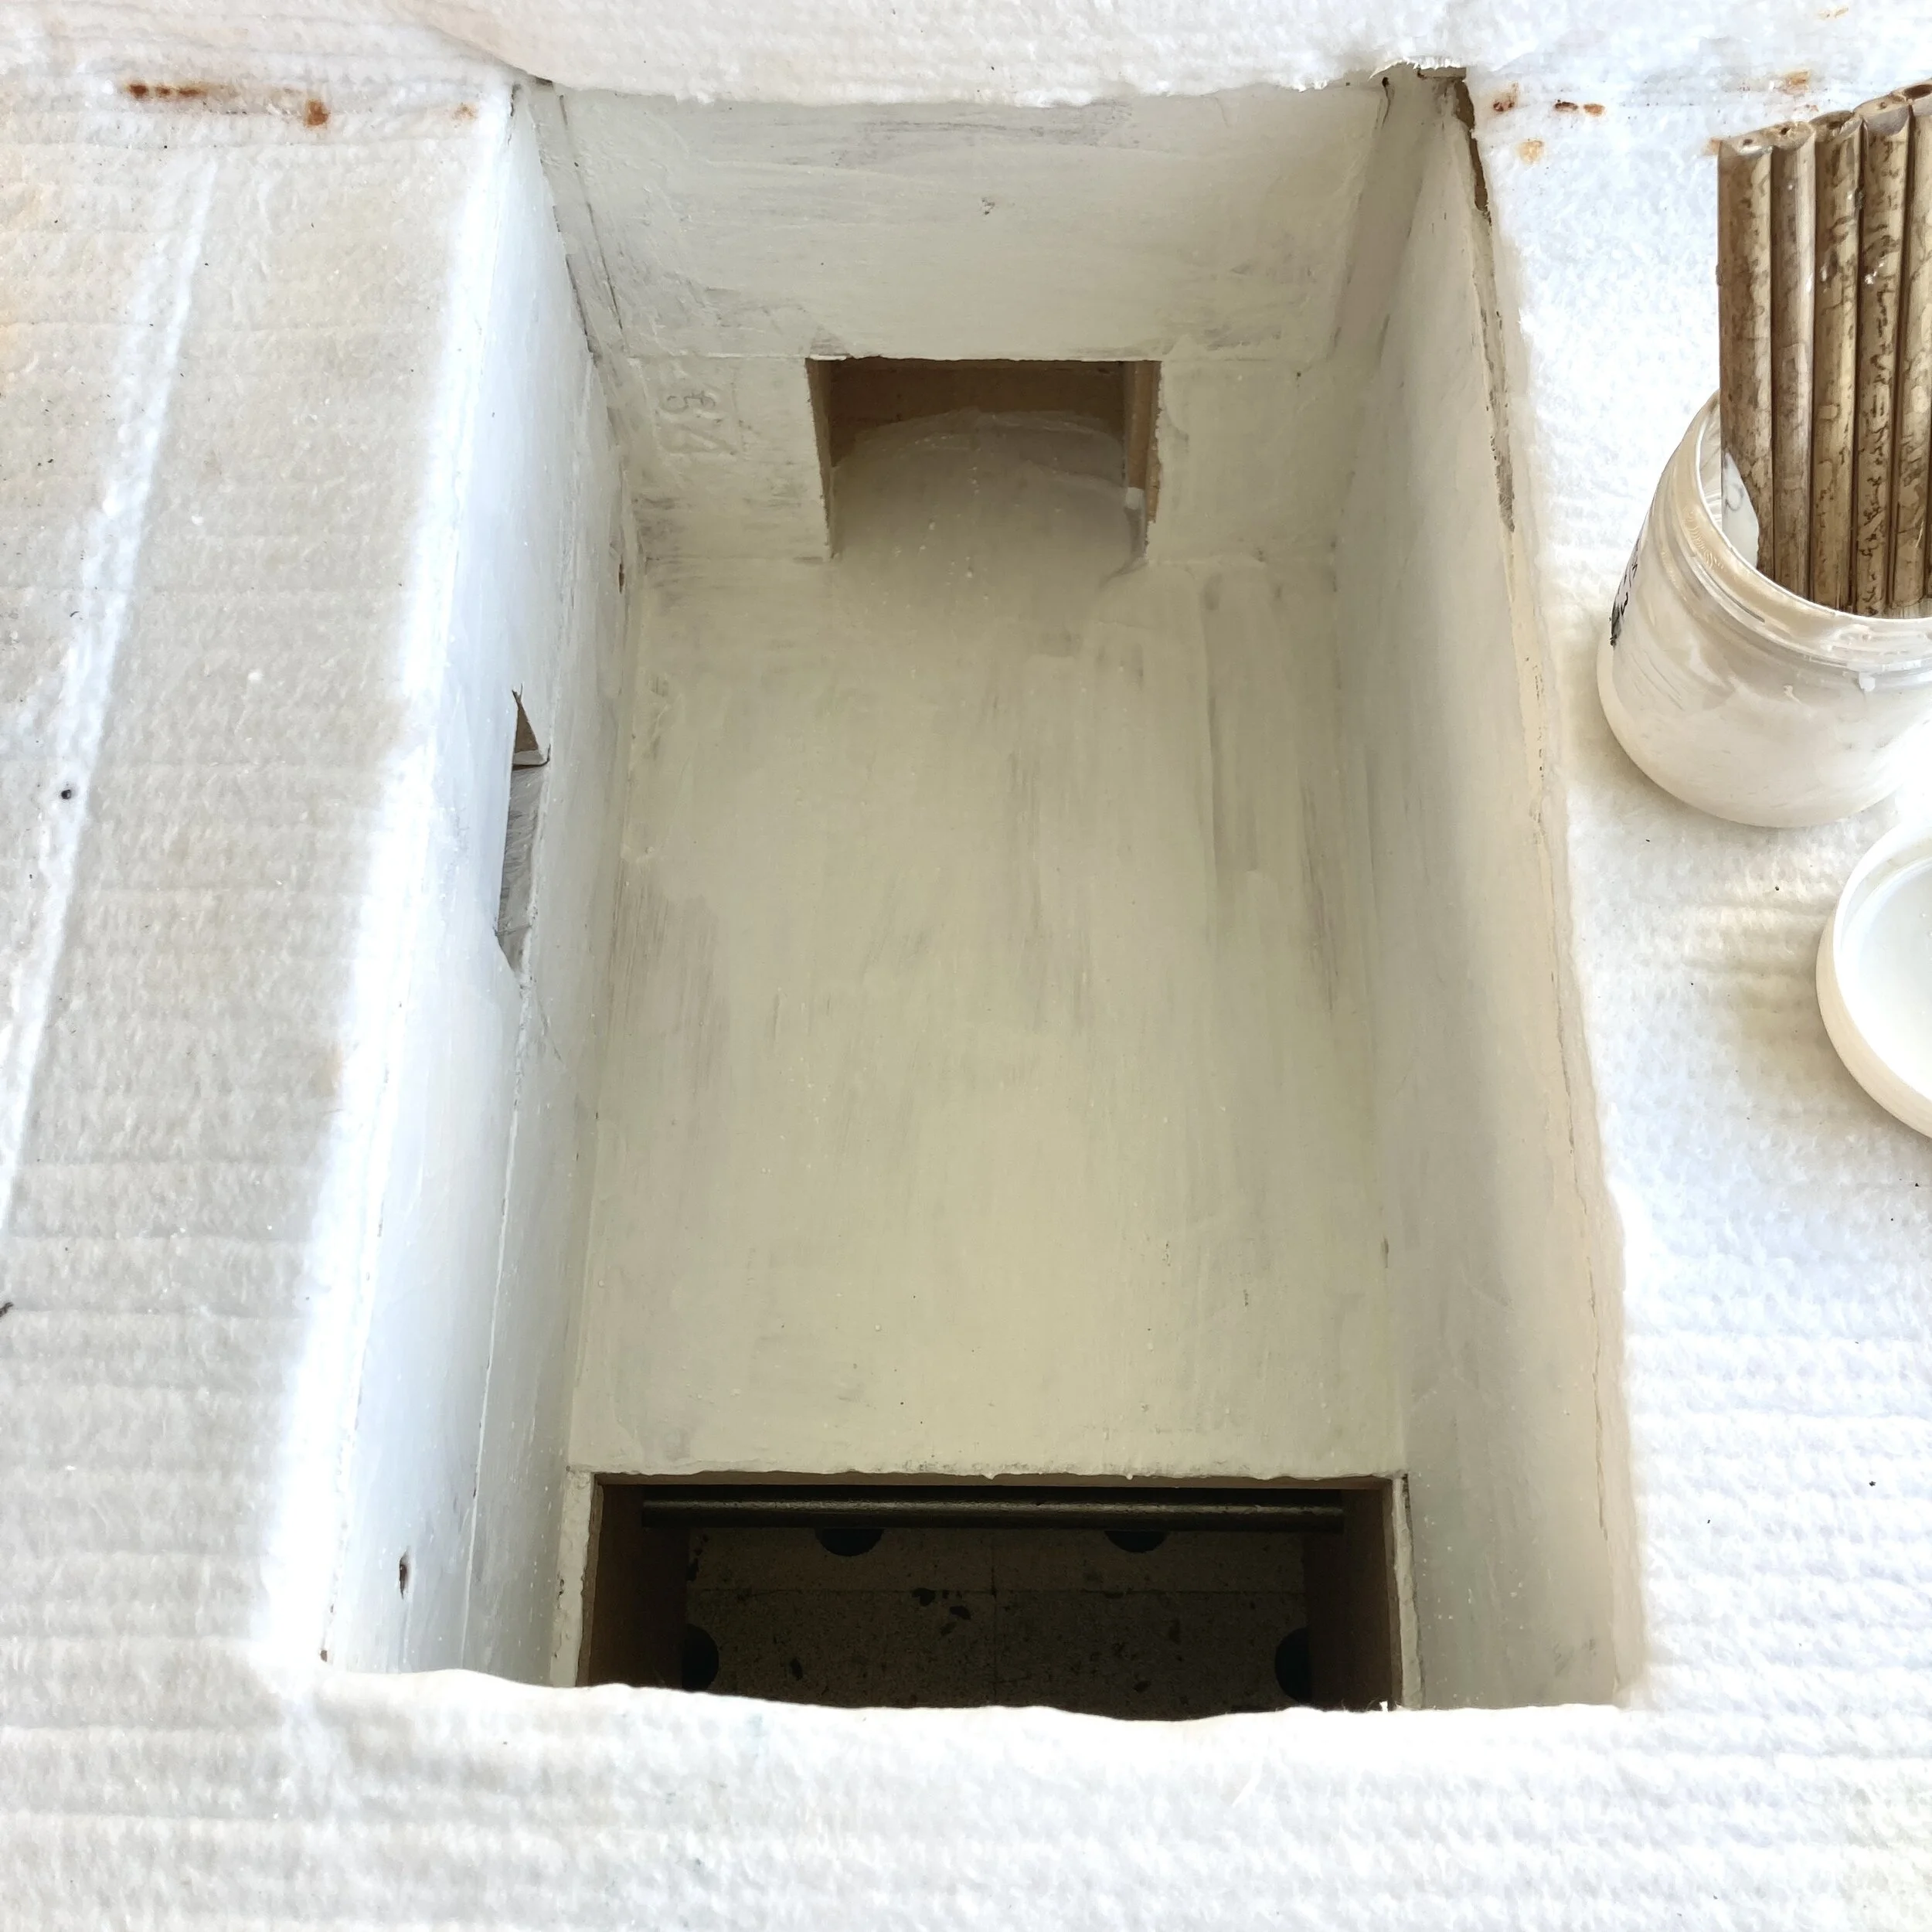
The ware chamber base shelf measured 46x68cm, and the height is flexible: The IFBs are laid without mortar, and we removed 2 of the 6 courses of bricks taking the height to only 35cm. (tiny!)


Once wadded, we packed the work from short to tall (with the tallest towards the exit flue) to create a ramp/funnel for flame, and allow as much of the work to face the flame as possible. The additional shelf (41x46cm) sat centrally above the base, such that the flame path would curve over the ware and then down. In total there were 25 ‘wares’ and we wadded 22 test-tiles along the walls of each shelf. - A tidy little pack! - Remember to leave space for the thermocouple: we put just one cone-pack in (10/11/12) and no draw rings.
Firing
Perhaps owing to the smaller ware chamber, and certainly (in part) because we used an insulated door, the firing was extremely fast to climb. I candled overnight, by getting a log smoldering away in the firebox, and came back at 5.30am to begin the firing proper. The pyrometer read 8 degrees C in the morning, despite the ambient air temperature reaching zero overnight. As you can see from the firing graph (below), I had trouble holding the temperature back, and hit 820c within 2 hours!
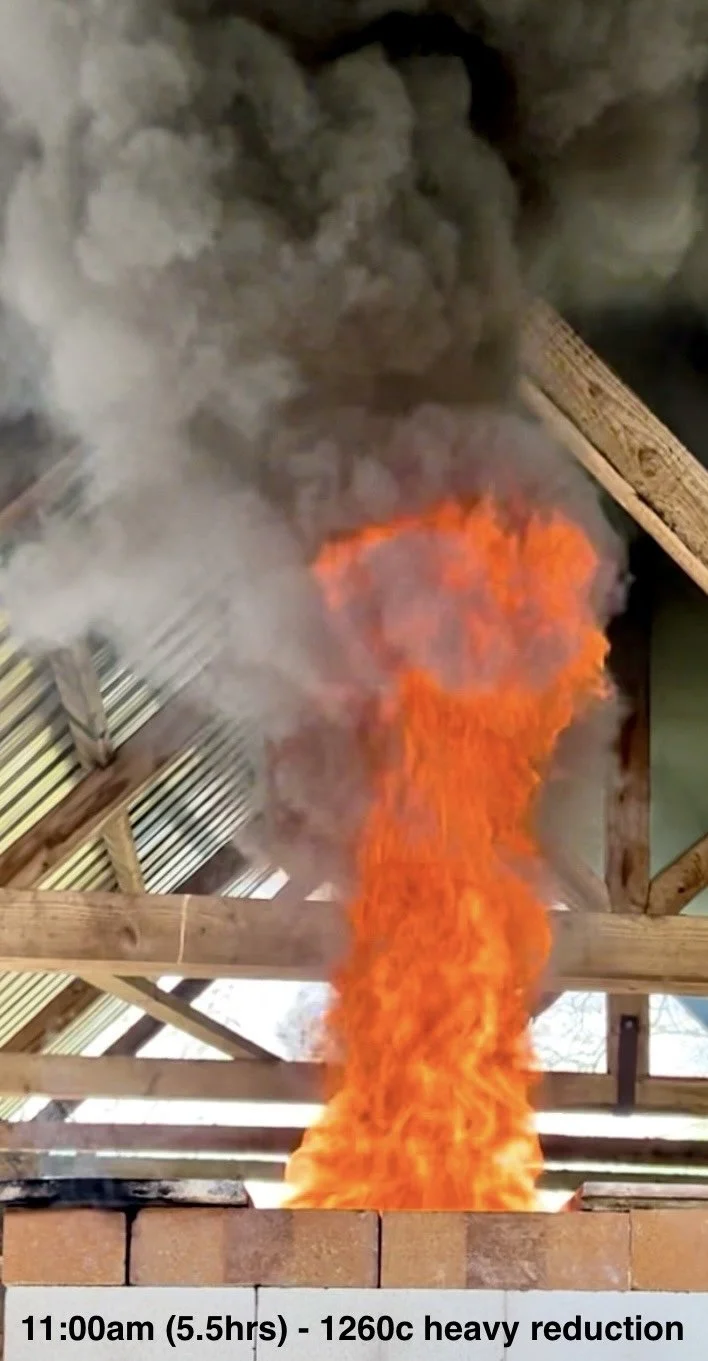
At around 1060c the rate of rise slowed as the bricks soaked in a little more heat. I was stoking 2 planks of pallet wood, at this stage, crossed through the firebox and stood up along their thin edge. The initial smoke of heavy reduction and temperature drop, after stoking, gradually clears, and the flame length dies back into the chimney followed by a temperature spike. Each stoke sees the temperature drop, and then rise above the initial reading. At around 1200c we tried switching to the hardwood sticks (a mixture of well seasoned hazel, oak, ash, beech): our switch was too abrupt, and eventually we settled on one small bundle of hardwood followed by perhaps four stokes of pallet wood. The hardwood burns slower, and takes a little more energy to get it started, but worked well to stabilise the otherwise wildly swinging temperatures of the pallet wood alone.
The pyro hit 1340c at one point, but I was too slow to get the photo(!), but it was easy to keep the kiln around 1280c, which we did for around 2 hours, checking the cones periodically.
Cone 12 was nicely down at around 6.5 hours, and we blew in a handful of additional wood-ash through a port at the back of the kiln, directly in line with the flame path while the work was at top temperature.
NOTE: Perhaps the most satisfying part of this firing was the total absence of riddling. Occasionally, I raked the embers forwards (towards the stoke-hole), but other than that the ember-bed seemed to self manage.. I put this down to the use of the door. - Closing the large hole in the front of the kiln had the effect of drawing all air through the mouse-holes and through the embers, rather than blasting cold air over the tops of the embers. The air is drawn through at higher pressure (the same volume just through smaller holes) and helps to burn through any build-up of coals more efficiently.


Results
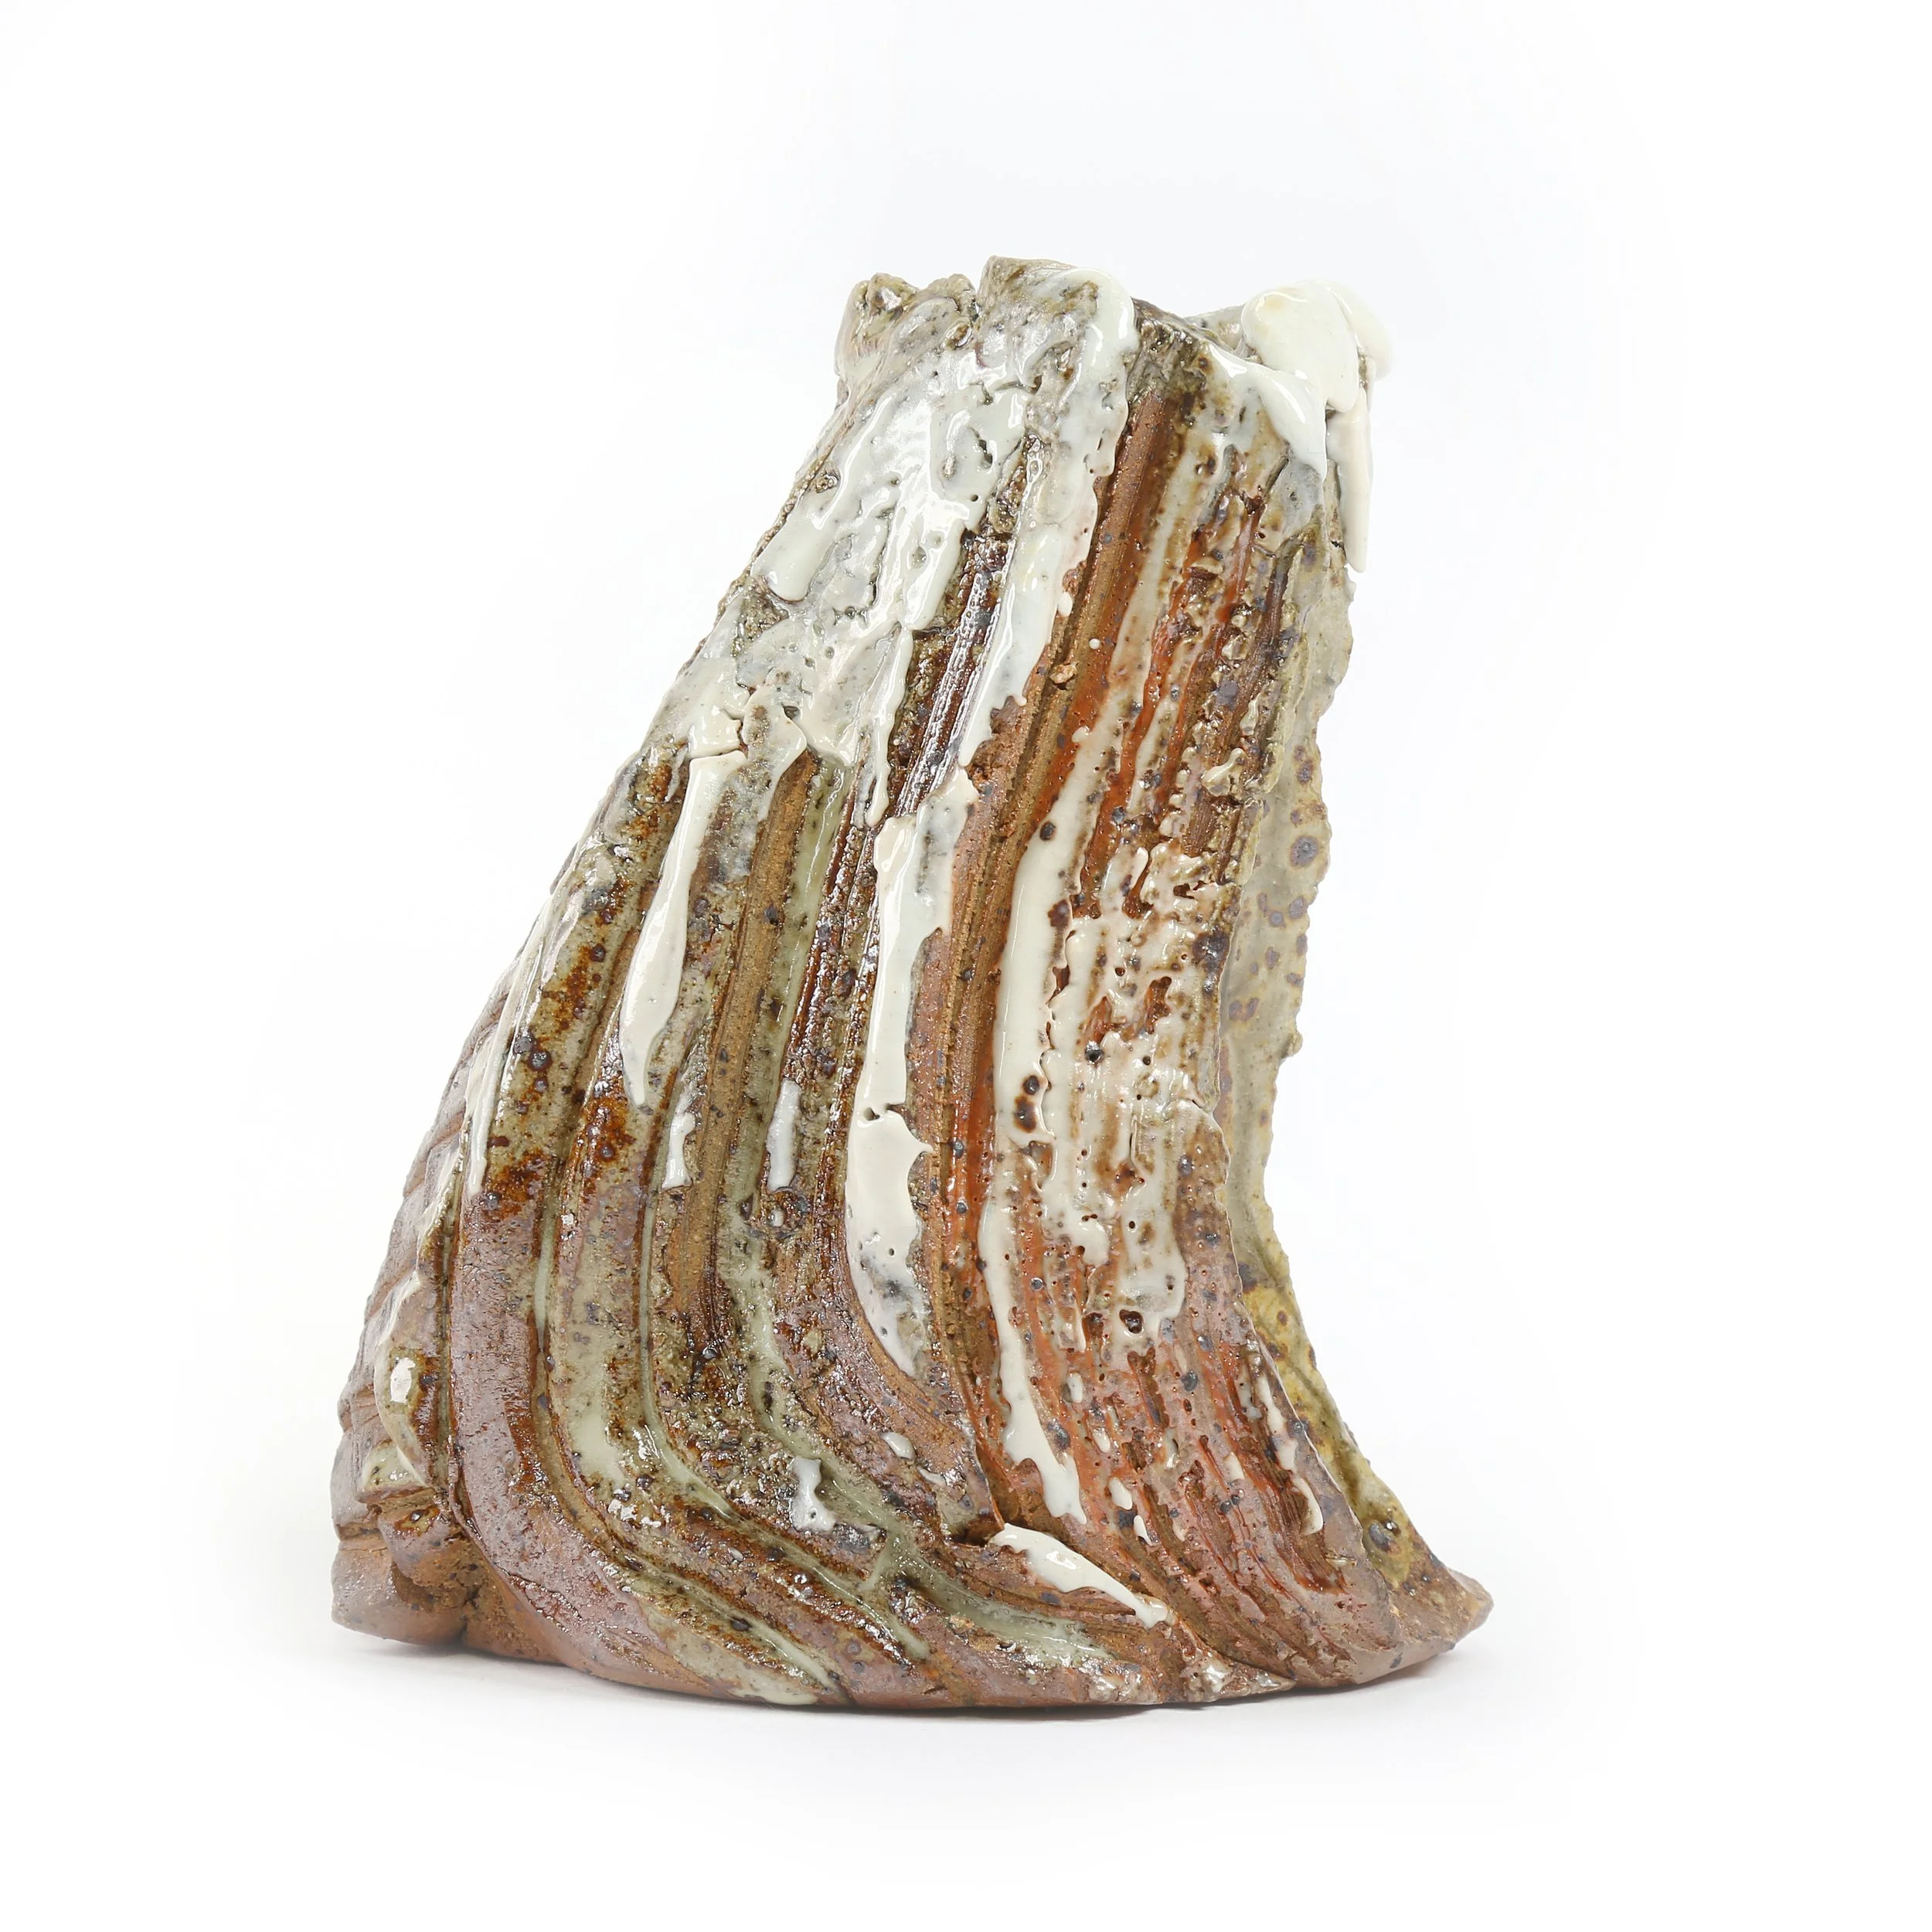
Personally, I think the results speak for themselves. We gave the pupils a choice of 6 glazes. Three shinos: a white crawling mino, a peach using petalite, an orange shino using soda ash and soda feldspar. Then a nuka, an ash-glaze, and a celadon. I also gave them a raw clay slip gathered in Norfolk which I knew would produce a dark glossy glaze in reduction.
To say I am pleased is a gross understatement! - The effects of flame and ash on the work are consistent those found in MUCH longer firings, and the work feels confident and accomplished:


Conclusions
Despite racing through the beta quartz transformation, the work all survived: Why waste time and fuel getting to vitrification unless you have to!
A smaller ware chamber certainly made for an easy firing, and consistent results.
The door held heat in and forced air in via the mouseholes and through the ember bed.
We used three insulation boards AND a layer of IFBs on the roof. This definitely helped.
Hardwood sticks helped to stabilise temperature swing above 1100c.
The hardwood also added to the ashing effects, and blowing yet more in was good.
If the firebox had a hinged door the kiln would be super easy to fire singlehanded.
We could have dropped cone 13 (or even 14?) and fired Bizen-style or only Shino glazes.
I’m hooked!
Huge thanks to Ethan Powell. - Ethan is a superbly skilled potter and kilnsman, he’s my dependable and faithful technician at work, and has become a true friend whose company and kindness I feel very lucky to enjoy. None of this would have been possible without him, and the opportunities which Robin and the Oxford Kilns Project provide.

The pale yellow line on this graph shows what I thought might be an optimistic idealised firing; we got to temperature 3 hours sooner!