
Microwave Raku
Running a studio, and occasionally offering Raku firings, means that you need to be able to rely on the compatibility of your chosen Raku glazes. Testing this compatibility usually requires setting up the kiln, gas bottle, burners etc, and dedicating maybe a whole afternoon to the tests.. Finding the time to do this is tricky, and trusting the vagaries of recipes posted on Glazy may seem foolhardy, especially when student work is at stake.
With a little tinkering, however, you can make your own Microwave kiln, and test glazes in as little as 15 minutes!
If that sounds useful then get yourself an unwanted microwave, an IFB, a SiC grinding block, a diamond cutting disc on your angle grinder, and strap in:
NOTE: If you have not done any Raku firing before, this probably isn’t for you: Do a course, read a load of books, learn the ropes with those who have the experience…
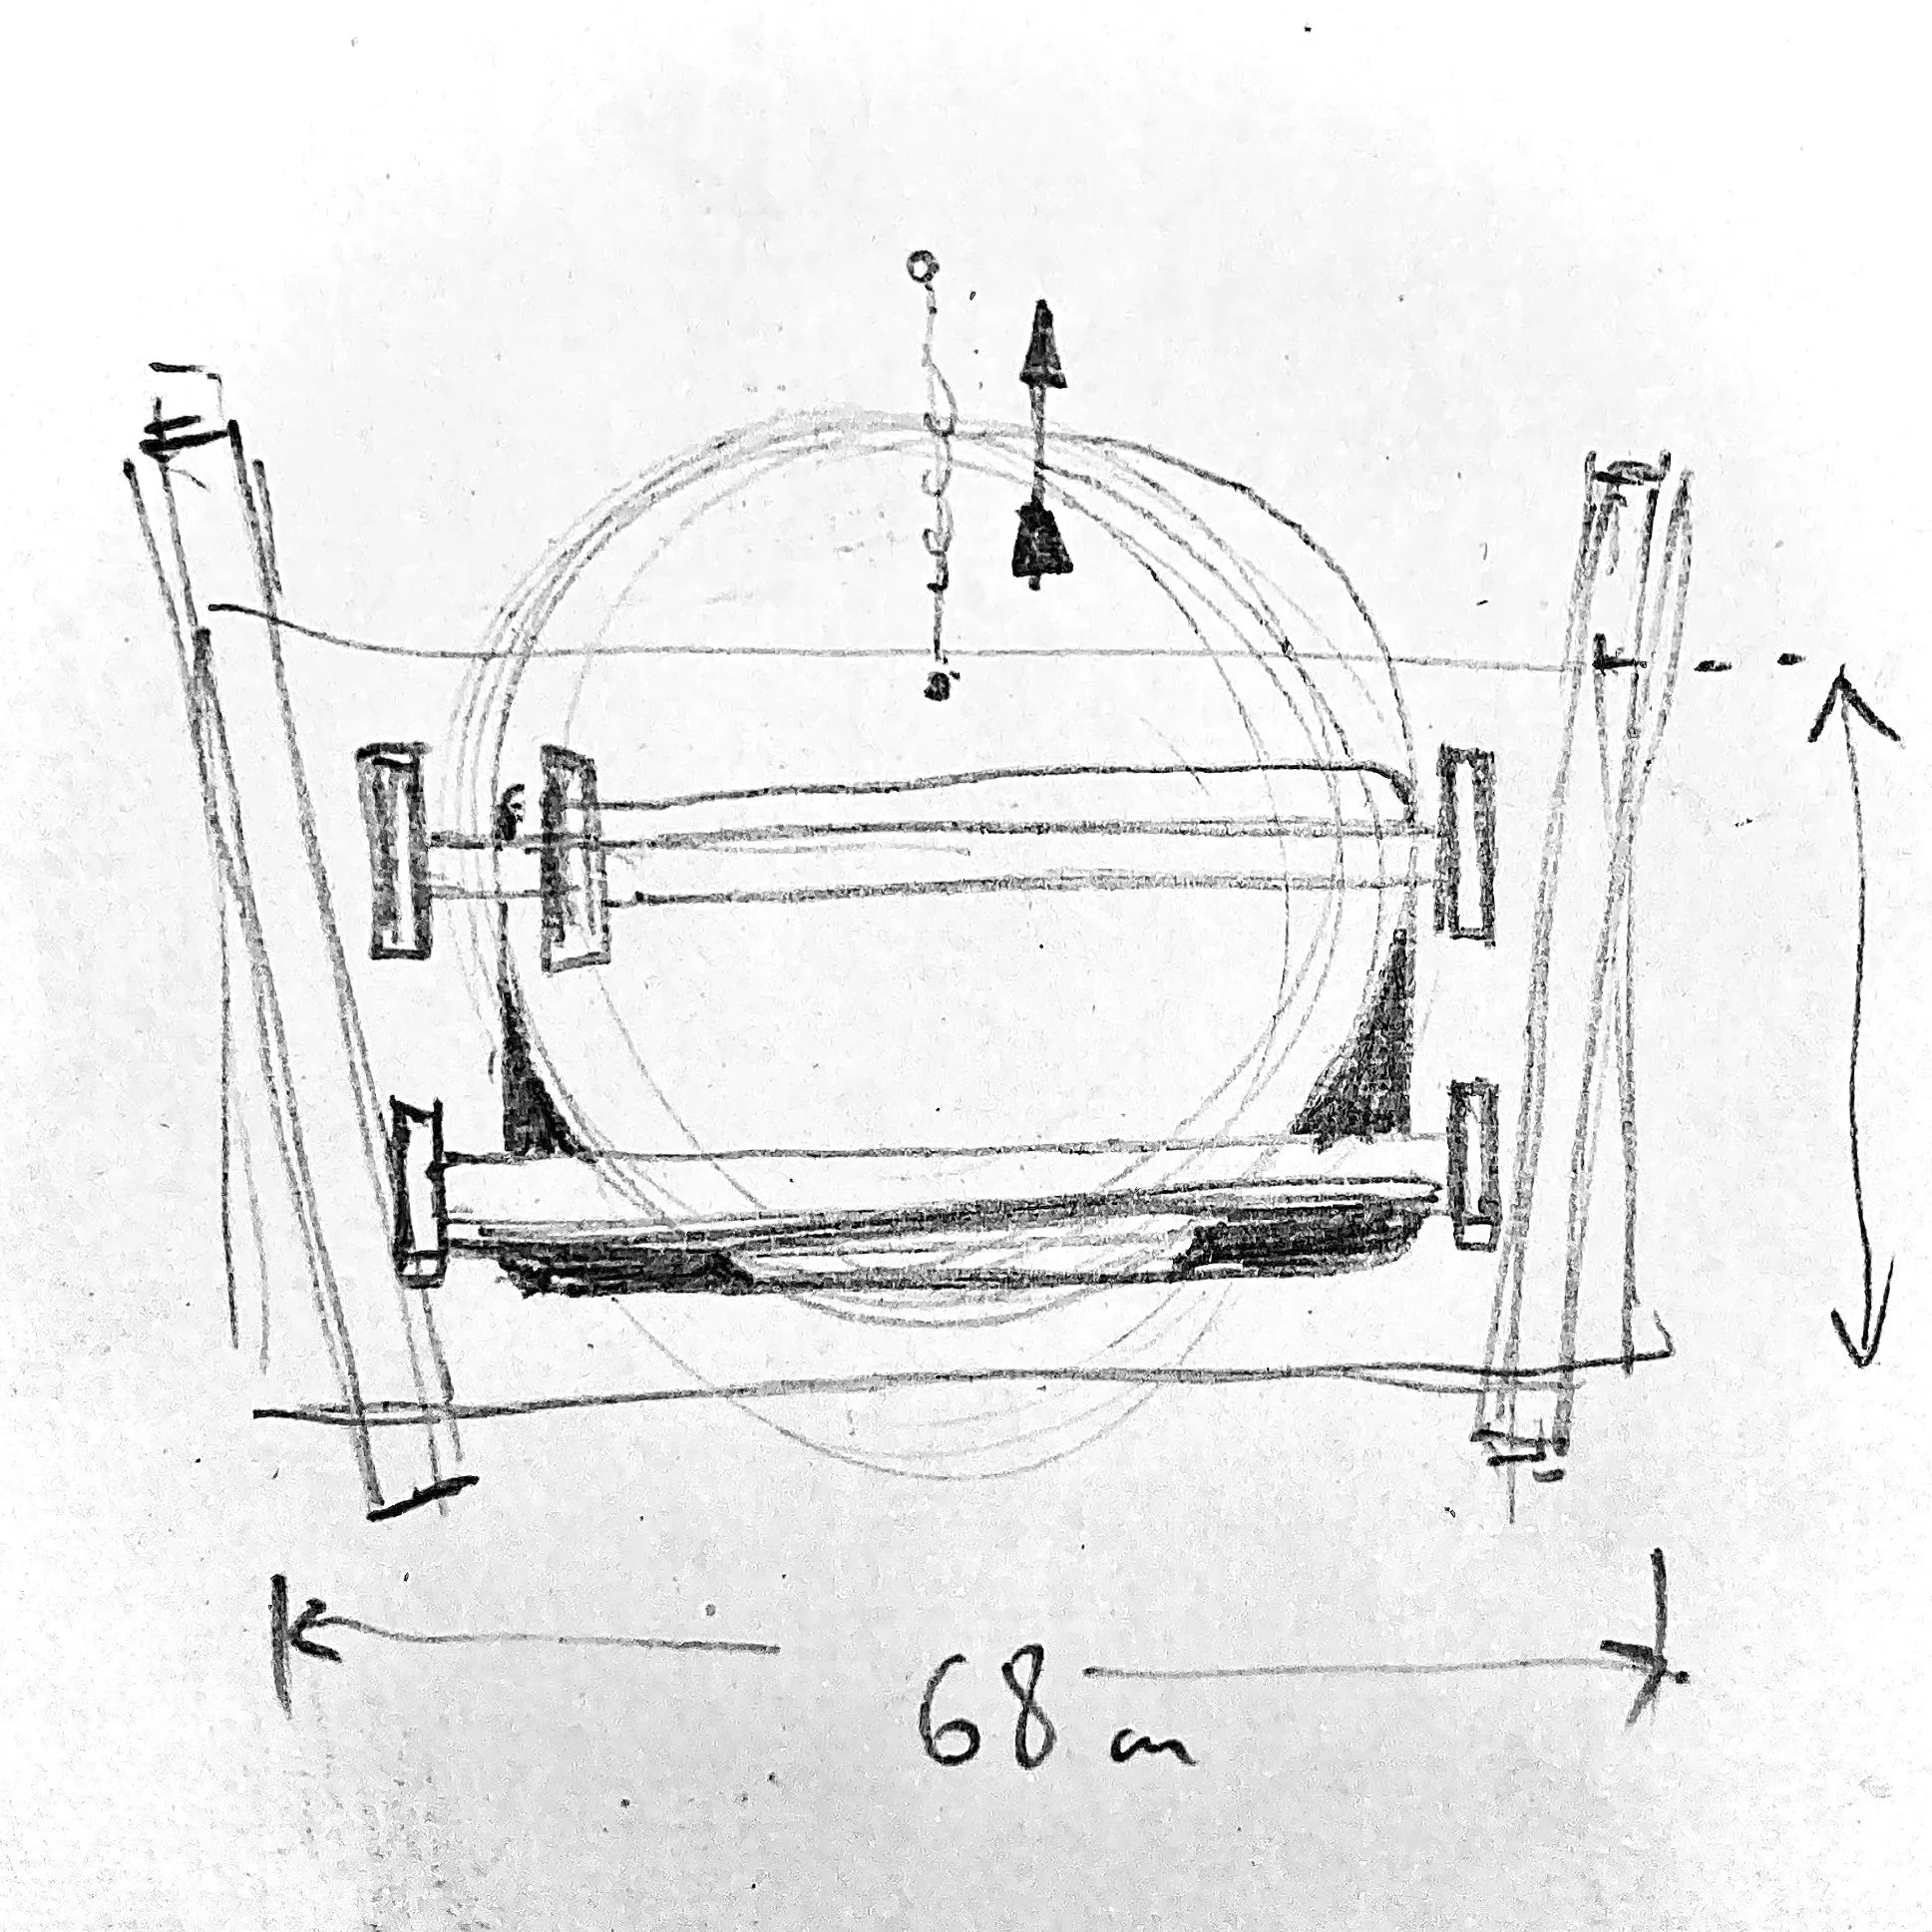
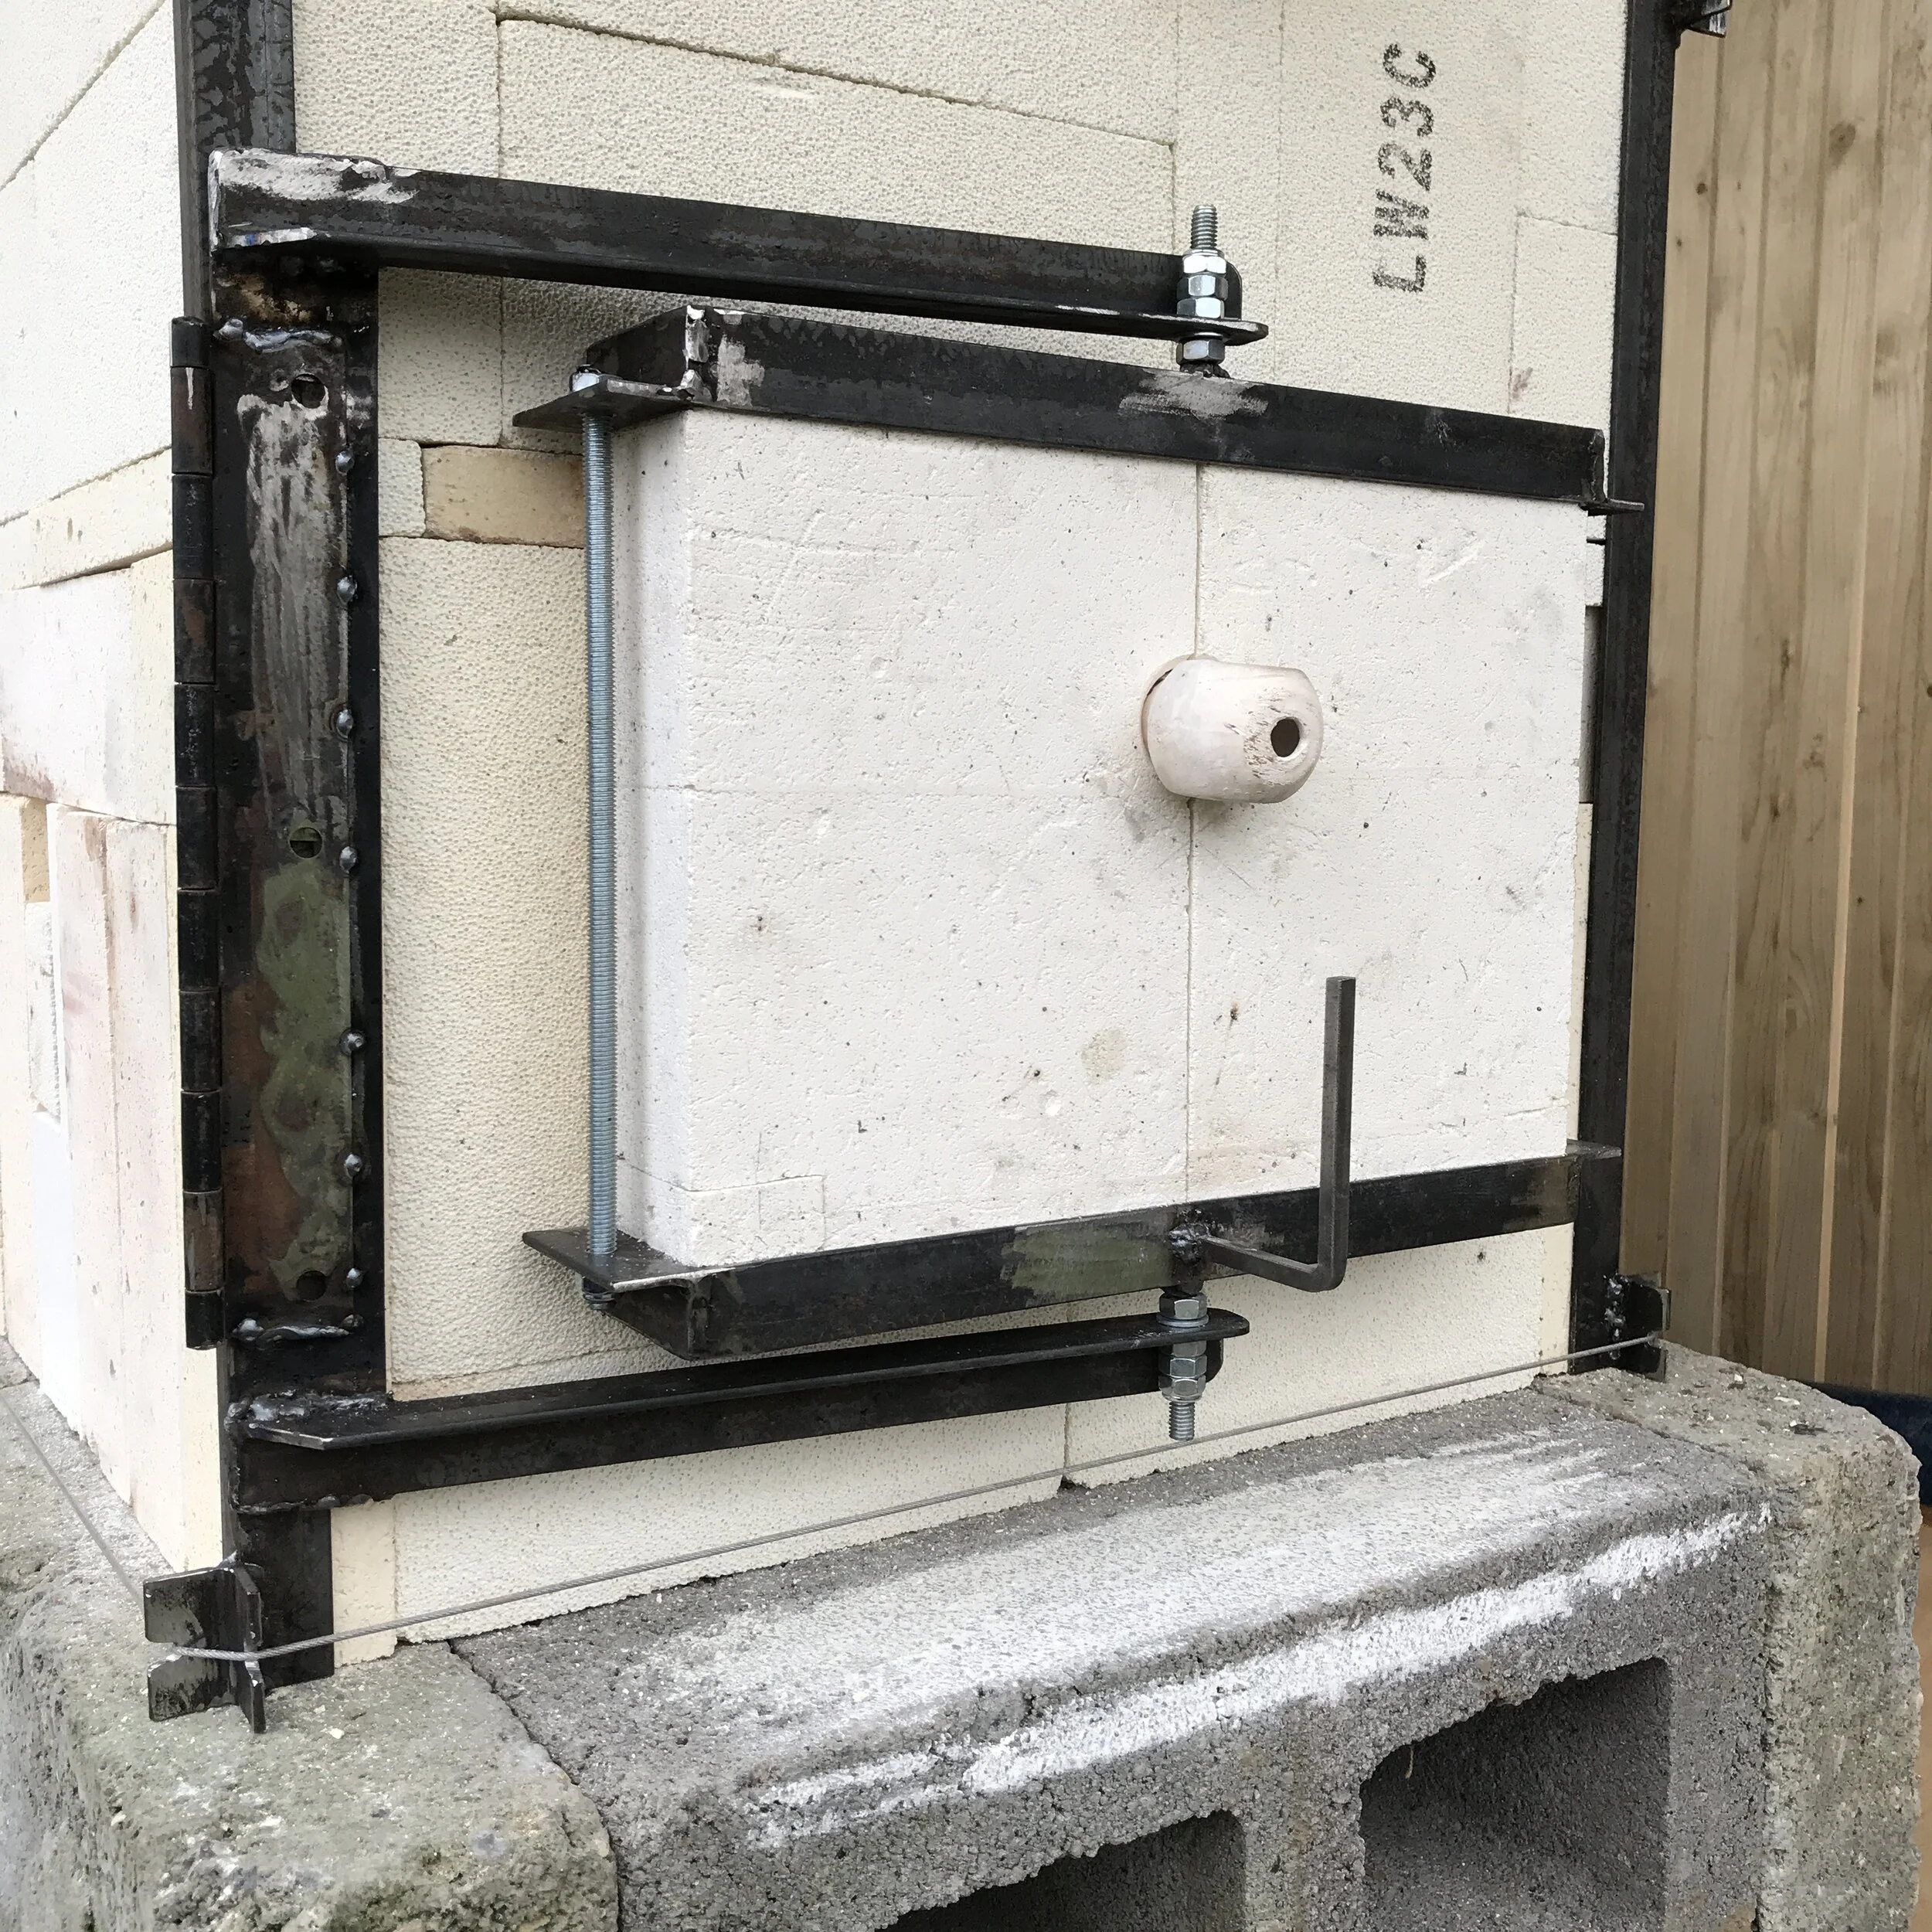
The Kiln Body
Carefully mark out and cut an Insulating Fire Brick (IFB) in half: one half will form the lid of a kiln large enough to fit one test tile or tiny pot/object. I used an old panel saw. A hacksaw works too, but the blade depth of the panel saw helps to guide the blade through square.
Now take one of these blocks and cut this in half horizontally to form two flat pads with the same ‘footprint’ as the lid.


The lid needs to be hollowed out to form the top of the internal chamber. I used a drill marked with a depth stop, and then an old square metal rib to flatten things off. The IFB is so crumbly that it is quite easy to work. Ware a good mask and/or do this part outside as it’s dusty work.


The Kiln Elements
These are Silicon Carbide. Buy a SiC grinding block of the right dimensions to cut into slivers or plaques which will line the internal cavity (ware chamber) of your IFB kiln. - You’ll need a diamond cutting disc for an angle-grinder to cut the Silicon Carbide! clamp the workpiece firmly, wear a mask, do it outside, and mind the cable..
Use kiln mortar if you need, or simply scrape the IFB until its all a tolerance-fit.


Firing
Get everything set up beforehand. Some scraps of IFB can used to prop the kiln up, and allow some airflow between the rotating pyrex plate in the microwave. Obviously you’ll need tongs, heatproof gloves, a biscuit tin, combustibles, and a jug of water for quenching (all the usual Raku stuff, just scaled down), but remember to set up a heatproof surface where you can place your kiln as you take it from the microwave.


Test it! - depending on the wattage of your microwave and the thickness of your SiC kiln elements, you may be able to fire in as little as 8mins. It may take as much as 15mins. The kiln obviously retains heat, so a second firing may take less time than the first one.. If your microwave has analogue dials for the timer, don’t trust these; set a timer on your phone!


Disclaimer
Clearly, domestic microwaves are not designed or sold for these purposes. And clearly you need to take great care in every step of this process. - With the right PPE it can be done safely. Keep an eye on the temperature of the microwave unit; the top/roof in particular, and you will probably find that it will need to be left to cool every 30mins or so..
Very clearly, this is something (both the making and the firing!) which is best done outside. I’m not responsible for any damage/harm/expense which may come from you trying any of this. - In my own personal experience it can be brilliant!